

Every so often I get a certain dessert idea into my head and start scribbling down possibilities on a piece of paper. No, I don’t run to my computer to type. I find that writing things down on paper takes longer and gives me enough of a window that specifics start to gel allowing the recipe to take shape.
The idea I had last week was for a chocolate mousse served in a shortbread-like tart shell. I didn’t want a pie, I wanted a tart. And a tart shell is very different from a pie crust.
I began with the crust and decided to add sugar both for crunch and a touch of sweetness. Sugary crusts can be temperamental. Often they like to fall apart during rolling or show faint lines of cracking after they’re baked. Adding just enough, but not too much, sugar makes the chilled dough easy to roll. The trick here is to have the dough just cold enough but not too cold. Cold enough means that the dough is malleable but not so firm that it falls apart when you try to roll it. And even if the dough does fall apart, this tart dough—unlike a pie dough—will not get tough when you rework it into a disk and begin rolling it again. Neat, eh? So don't worry!
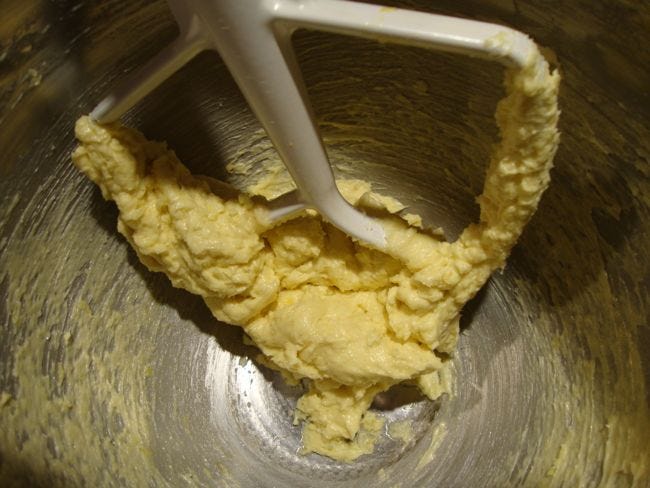
Here's what the "dough" looks like after creaming the butter with the sugar and beating in the egg.
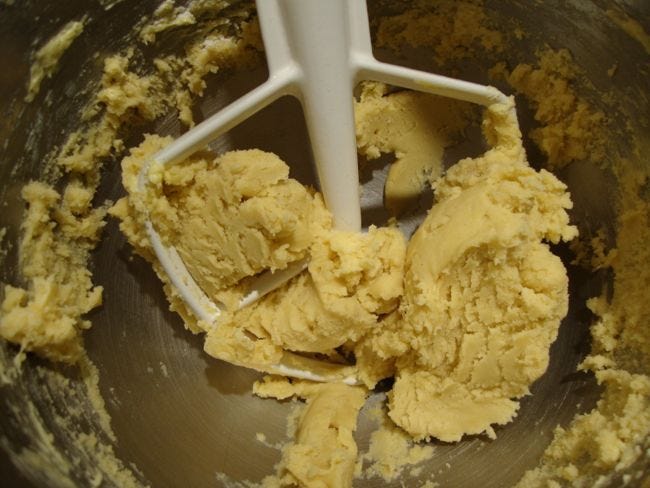
After adding the flour and mixing briefly, the dough gathers into a mass on the flat beater. the dough is ready to be shaped.
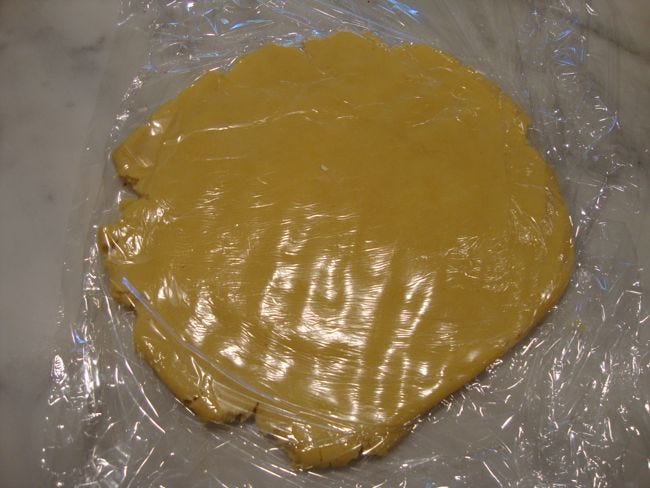
You shape the dough into a disk and refrigerate it for about 30 minutes, just to firm it up a bit. Then it's ready to roll.
Once you’ve rolled the dough and fit it into the tart pan (see recipe), if the dough breaks at any point, you can “heal” it simply by pressing the pieces together. The thing to remember when fitting the dough into the tart pan is to make the thickness as even as possible on the sides and bottom. And you don’t have to rush the process.
Once the dough is shaped, cover it loosely with plastic and refrigerate to firm it up. Then it’s ready to bake. You don’t need to line the pastry shell with foil and pie weights or beans, something I always do when baking a pie crust.
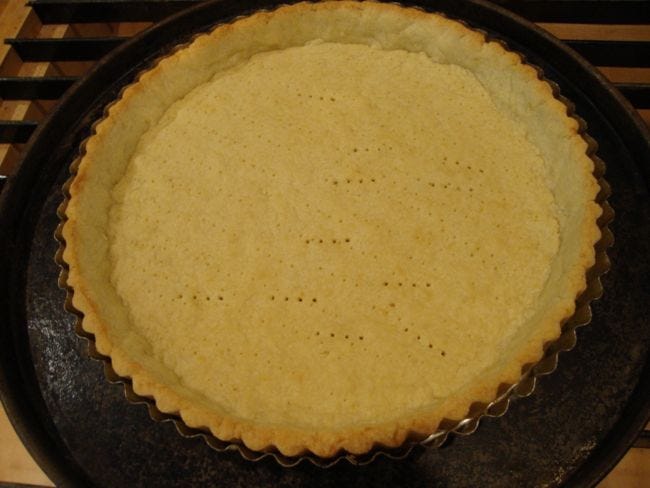
The baked crust is evenly browned and does not puff up during baking.
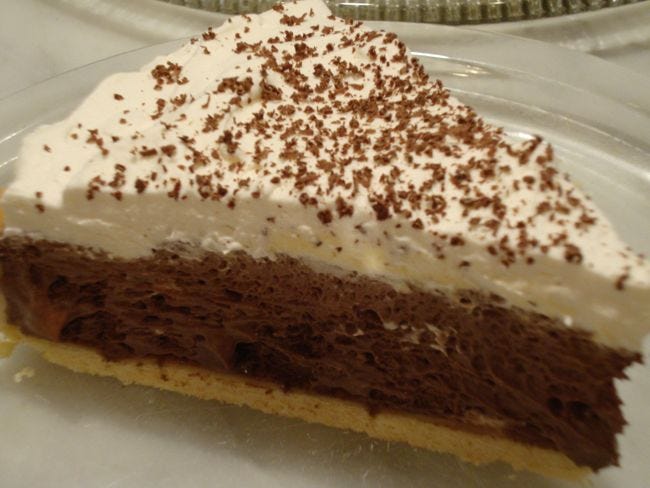
The mousse filling is light and airy and contrasts perfectly with the tart crust. Although I just use vanilla as the flavoring, feel free to use a liqueur such as Kahlua, Tia Maria, Grand Marnier, or Cointreau, or any other flavoring that pairs well with chocolate.
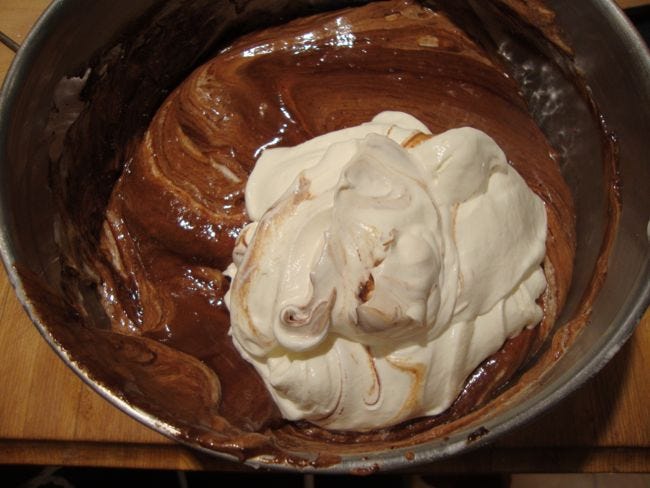
The chocolate mousse and whipped cream are ready to fold together for the light-textured filling.
You can make the crust a day ahead and leave it at room temperature, loosely wrapped. You can even fill the crust with the mousse and refrigerate it overnight. On serving day, just make the topping and decorate the pie with the grated chocolate.
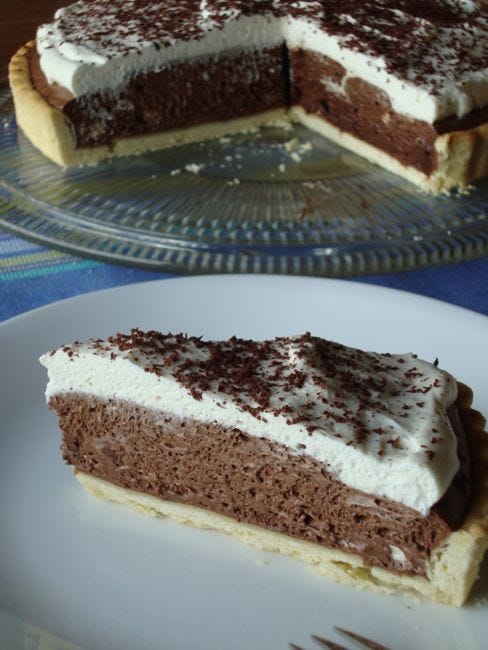
The completed tart cut and ready to serve. Note the airiness of the filling.